Waste not, want not philosophy leads to fresh take on fermented tea
In a corner of the kitchen at Biera, a large container of liquid containing water, tea bags, sugar and carefully paired ingredients slowly bubbles. In roughly a week, as one of several fermentation processes at work in the south Edmonton brewery and restaurant, it will be transformed into a low- to no-alcohol drink known as kombucha.
Though the tea-based beverage has been brewed in Asia for thousands of years, its appearance in North America is much more recent. But it’s on the rise, with one report forecasting an increase in kombucha consumption in Canada of 15.5% by 2026, partly due to the drink’s purported probiotic and gut-health benefits.
At Biera, where it’s brewed by sous chef Duncan Gommerud (Cook ’16), it has an added benefit of supporting the restaurant’s efforts at efficiency and sustainability. Kombucha can be flavored with fruit and vegetable juices, dried fruits, flowers or herbs. At Biera, that can include excess produce.
We talked to Gommerud, a veteran chef of several restaurants local and overseas, about what goes into his take on the fermented drink, as well as how to get brewing your own at home.
How kombucha is made
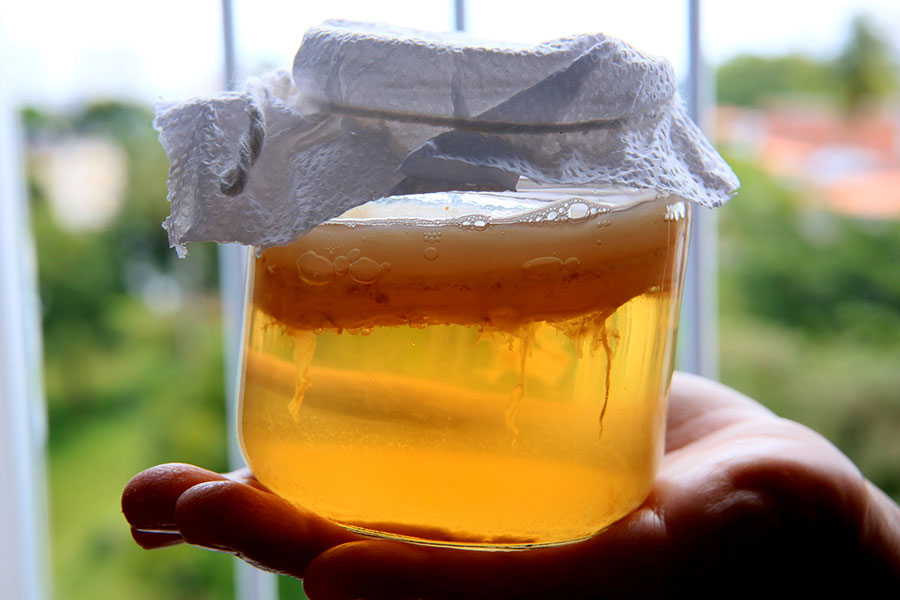
Kombucha, Gommerud explains, is “made using what is called a ‘SCOBY,’ which is a symbiotic colony of bacteria and yeast … that form a sort of a raft that floats on the top [of the batch].”
Though its outcome isn’t the same, the process resembles that of making vinegar. First, the yeast converts the sugar in the mix to alcohol, says Gommerud. Then the bacteria convert that alcohol into acetic acid.
At Biera, a batch of kombucha takes between 7 to 10 days to ferment before it’s bottled and carbonated to create a bright, refreshing beverage.
“In summer, we would probably go through six liters a week,” says Gommerud.
Flavouring kombucha
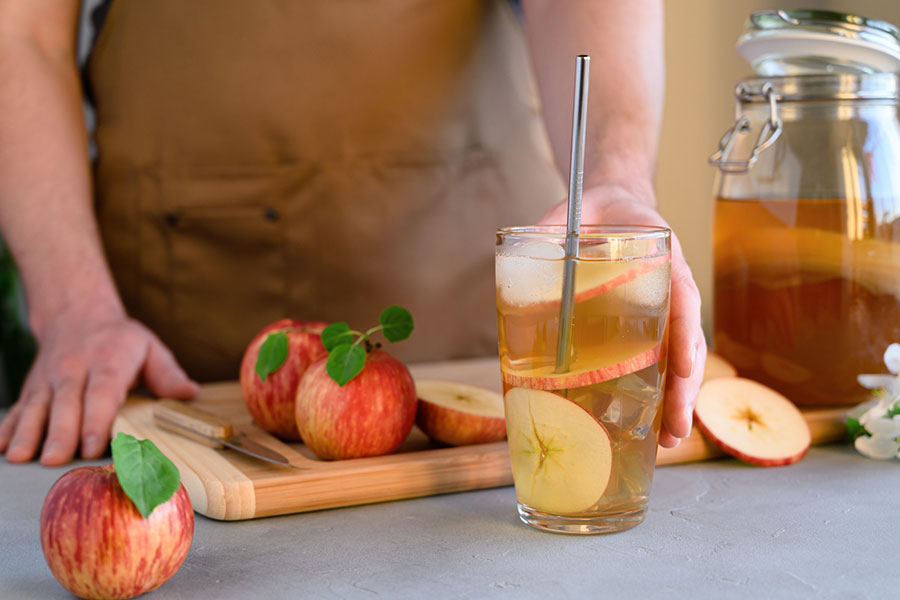
Flavours can be introduced at various stages in the brewing process, says Gommerud. He prefers focusing on the first, week-long stage. While he usually uses a base of tea, “sometimes with the tea leaves I’ll steep additional flavours.
“Or, rather than steeping the tea in water, I’ll steep it in juice. For instance, I made a batch of apricot peach apple kombucha, which was made using an apricot peach black tea steeped in organic apple cider.” He has also skipped the tea entirely and used juice alone.
The secondary fermentation (for more on the process, see the recipe below), when a small amount of sugar added to kombucha is converted to alcohol and carbon dioxide after bottling, is another point at which flavour can be added, says Gommerud. But he offers a warning.
“You might be able to get a little bit more freshness,” he says, “but I personally have never had much luck doing it that way.”
Possible health benefits
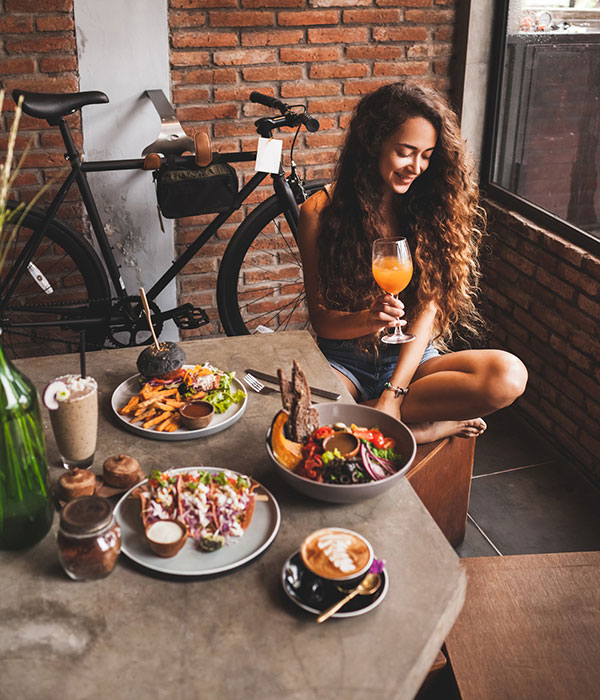 Recently, kombucha has received increased attention for its potential positive impacts on gut health, making it an attractive alternative to sugary sodas.
But Gommerud advises to be choosy.
“There are definitely good and bad [brands] that are not necessarily going to be healthier for you,” he says.
“The point of kombucha is the probiotics,” Gommerud adds, referring to the beneficial microorganisms that can be present in the drink.
“If you're looking for gut health you have to check that you're buying unpasteurised kombucha.
"If you pasteurize it you lose the probiotics.”
Beira’s, Gommerud points out, is unpasteurized.
Reducing food waste
When planning and preparing its menus, Biera works to limit waste as much as possible, using as much of every food item that it can.
“We look at all parts of the product and see if anything can still be extracted from it,” says Gommerud.
They’ll save shallot ends and skins, for instance, wood-char them and use them to infuse oil for a pierogy dip. He’s also dehydrated overripe pears for use in a cherry syrup condiment for Biera’s cheese selection.
“It's nice to repurpose things to cut down on waste.”
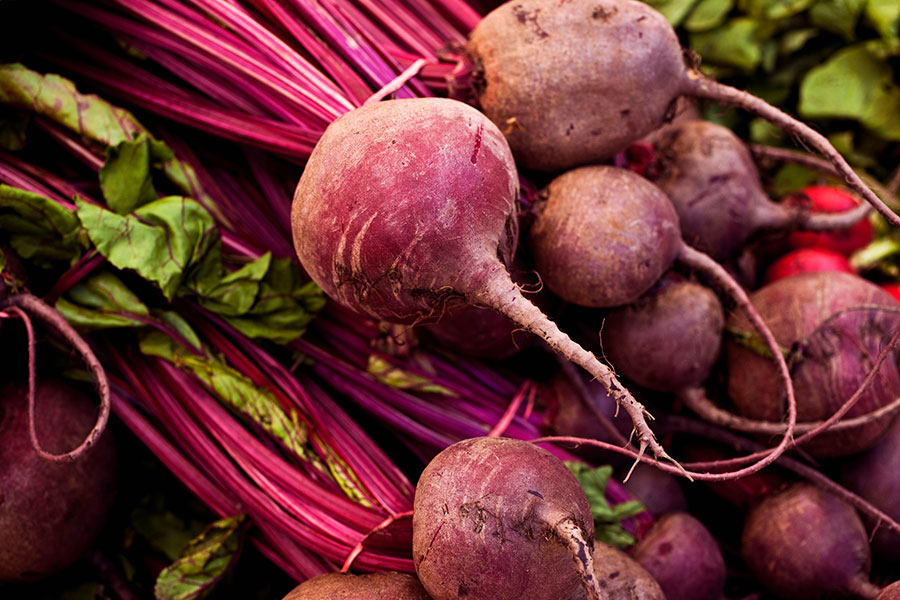
Kombucha is another way to do that. In one case, Gommerud made a batch by juicing a surplus of beets and combining it with ginger. Depending on what’s on the menu, the flavour possibilities – as well as opportunities to limit food waste in the kitchen – are nearly endless.
“It's nice to have that [experimentation] and not be limited just to the food menu, but incorporate that into the beverage side as well.”
From sous chef Duncan Gommerud
Making a SCOBY farm
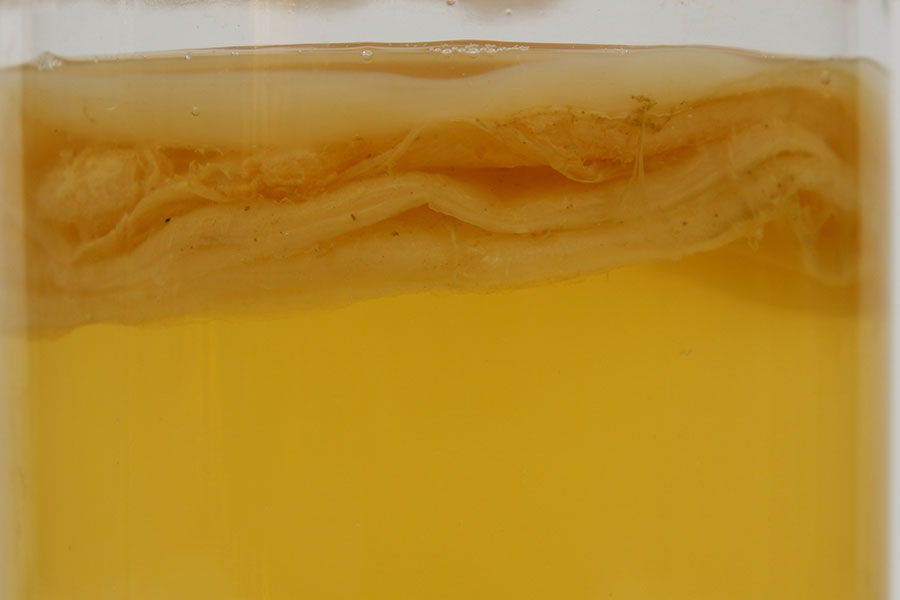
To grow your own SCOBY, use an unpasteurized bottle of kombucha. I generally use GT’s.
Ingredients
- 1,600 gram water
- 400 g white sugar
- 4 black tea bags
- one 475 milliliter bottle of GT’s kombucha
Method
- Bring water and sugar to a boil, add tea bags, steep for 5 minutes (or until strong) and remove, squeezing out the liquid from the bags.
- Allow to cool fully to room temperature (or at least to 35 C).
- Add bottle of unpasteurized kombucha.
- Transfer to a large, clean glass jar, cover with cheesecloth secured with rubber bands.
- Leave it at room temperature (21 - 25 C) in a dark space for 3 - 4 weeks. A SCOBY will grow on top.
- When the SCOBY is roughly 1/2 centimeter thick, it is ready for use.
Using your SCOBY to make kombucha
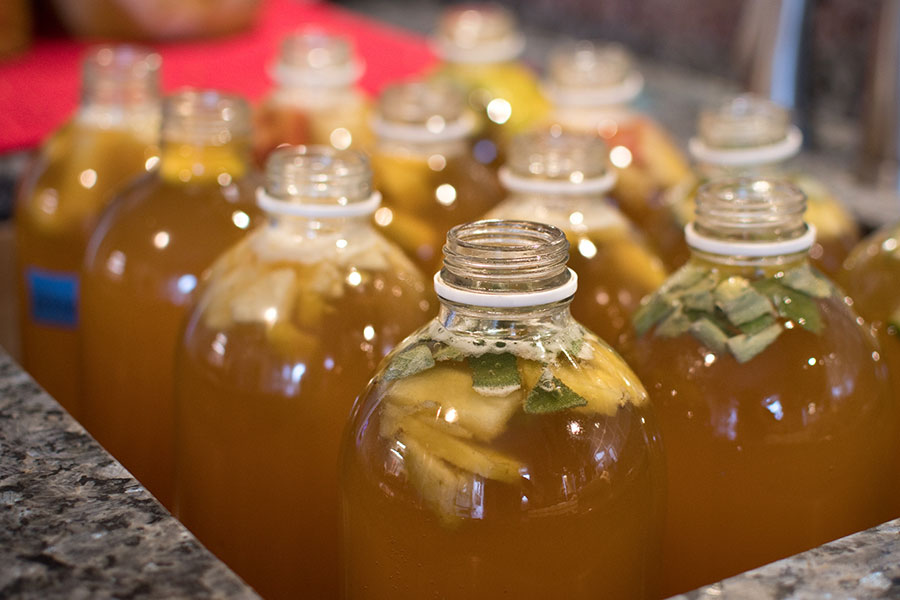
For beginners, plain tea kombucha is easiest. Once you become comfortable with the process, you can try something more complex.
Ingredients
- 1,400 g water
- 240 g sugar
- 4 tea bags
- 330 g kombucha (from a previous batch or liquid from the SCOBY farm)
- 1 SCOBY
Method
- Bring water and sugar to a boil, add tea bags, steep for 5 minutes and remove, squeezing liquid out.
- Allow to cool to room temperature.
- Add kombucha and mix, and then transfer to a clean, large glass jar.
- Wearing gloves, carefully transfer the SCOBY to the jar and gently lay it on top.
- The SCOBY may sink, but as it begins to ferment it should float to the top. Cover jar with cheesecloth secured with rubber bands.
- Leave it at room temperature (21 - 25 C) in a dark space for 1 - 2 weeks.
- After 1 week, taste the kombucha daily until it becomes fairly acidic (it should be tart and tangy, not unlike lemon juice or apple cider vinegar). Depending on temperature and activity of the SCOBY, this can take as little as 1 week or as long as 1 month.
- When it has reached a desired level of acidity, strain liquid and reserve 20% with the SCOBY in the jar with the cheesecloth to maintain the colony. The kombucha is now ready for consumption.
- At this point, it can be carbonated if desired. It is very important to use bottles designed to be pressurized. Flip-top bottles from IKEA, for example, will explode.
- Add 1 tbsp of sugar per liter of liquid.
- Fill bottles approximately 3/4 full, leaving room for CO2 generation. Cap and leave in a warm, dark area. Check daily for carbonation by tasting a bottle.
- When kombucha reaches a level of carbonation you enjoy, transfer the bottles to the fridge.
Banner image by alvarez/istockphoto.com